021-57560767
趣购彩大厅登录首页
<tr id='JlPCTw'><strong id='JlPCTw'></strong><small id='JlPCTw'></small><button id='JlPCTw'></button><li id='JlPCTw'><noscript id='JlPCTw'><big id='JlPCTw'></big><dt id='JlPCTw'></dt></noscript></li></tr><ol id='JlPCTw'><option id='JlPCTw'><table id='JlPCTw'><blockquote id='JlPCTw'><tbody id='JlPCTw'></tbody></blockquote></table></option></ol><u id='JlPCTw'></u><kbd id='JlPCTw'><kbd id='JlPCTw'></kbd></kbd>
�������
����ʵ��ר��
����� ������
����ͻ�
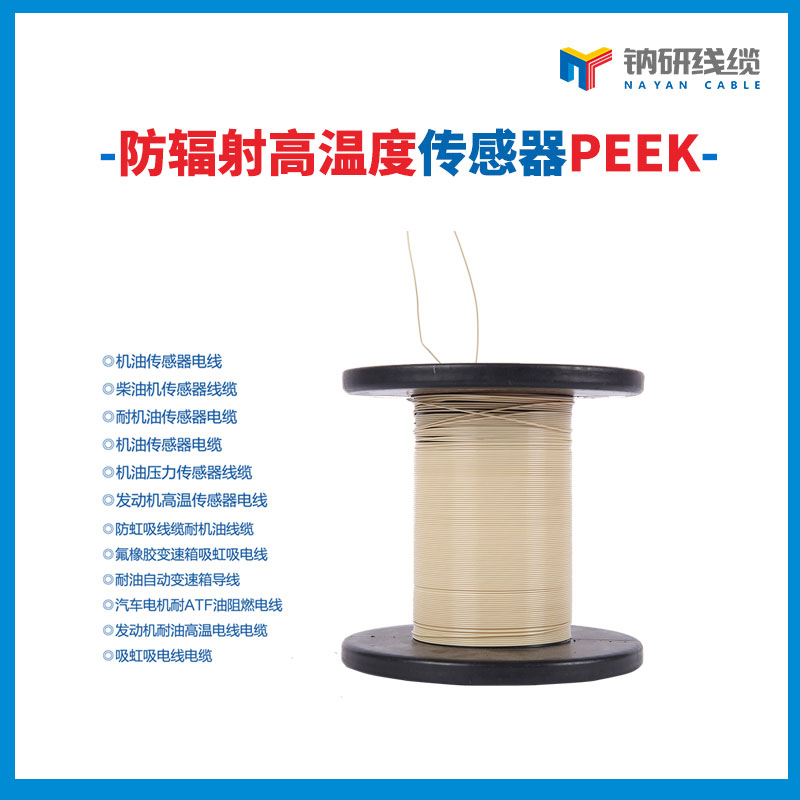
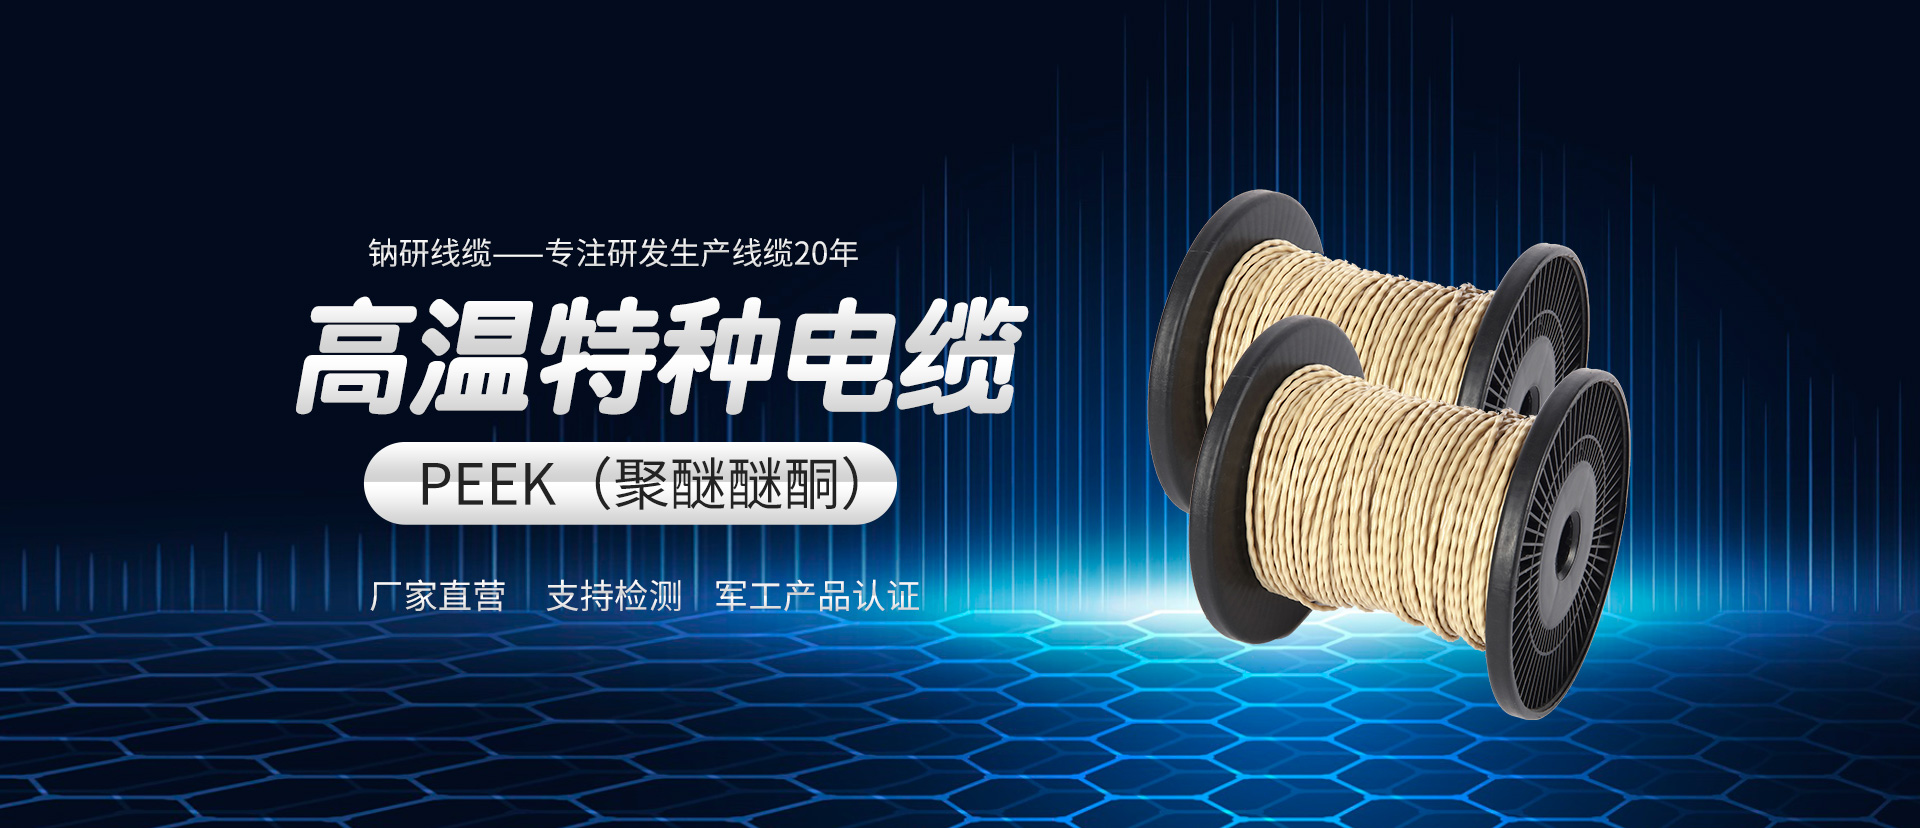
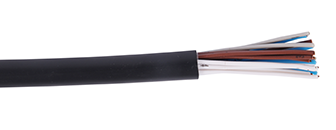
�Ϻ�������������˾�������Ϻ��з�������ǣ��м�����ҵ����һ��רҵ�������ֵ��ߵ��µ��з������� �����۵ĿƼ�����ҵ �Ϻ�������������˾���Ϻ����·��ռ�����������˾��ԭ�ϡѺ����³��������з��������������� �ۺ�ӵ���걸�������ͼ���豸����Ʒ�Ը��ָ��µ��ߡ��������ߡ�������Ϊ�����������������µ���� ���£��ȵ�ż�ò������ߵ��£�PEEK������ͪ�����ߣ������������ߣ����ø����ߣ���±������ȼ�� �շ�����ߣ����ս����Ȼ�����ϩ��CPE������������ȼ���£������������µȣ��㷺Ӧ���ھ����� е�����պ��졢�������졢�����ͨ������Դ���������ӵ�����ҽ����е���˹����ܵ������ҵ��ͬʱ�� ���û�����Ҫ�������¡�
��˾���С���Ч���¡�Ʒ�����飬������ʵ��������Ӯ ���ľ�Ӫ������������߳�Ϊ�û��ṩ�� �ʵIJ�Ʒ�ͷ��� ����鿴����→
��Ʒͨ������������ϵ��֤��ISO9001������֤��CE��֤��ӵ�г����ʮ����ר��������ͨ�����ҵ��ߵ��¼������Ȩ����⡣
�鿴����→


���ں���HV�����䰲ȫ�ӡ� �˵���ȵ��ߡ��豸�õ��ߡ��˵��Զ����DZ��豸���ߡ��˵�������õ��ߡ��˵��ȵ��ż���ߡ��˵������ߡ��˵����ַ��������������о���µ��ߡ��˵��¶ȴ��е��ߵ�����������...
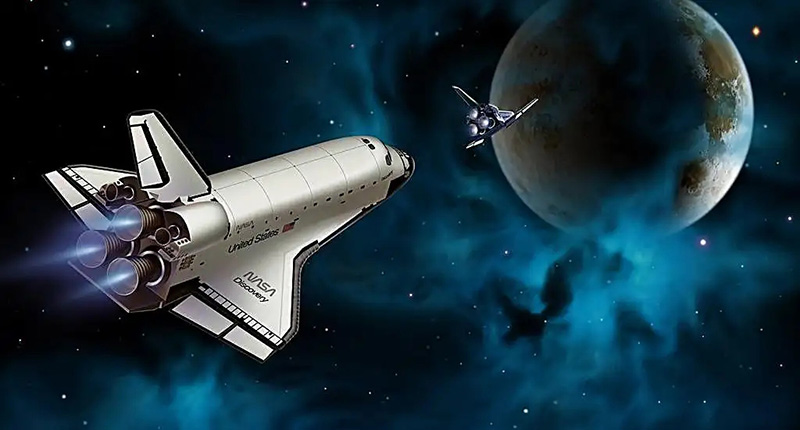
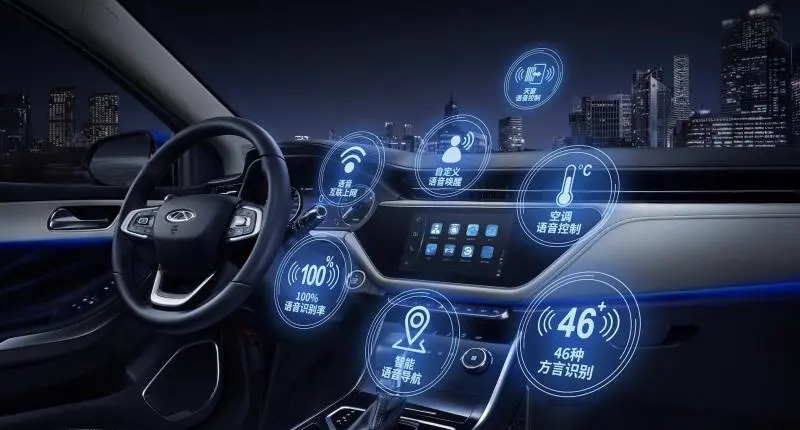
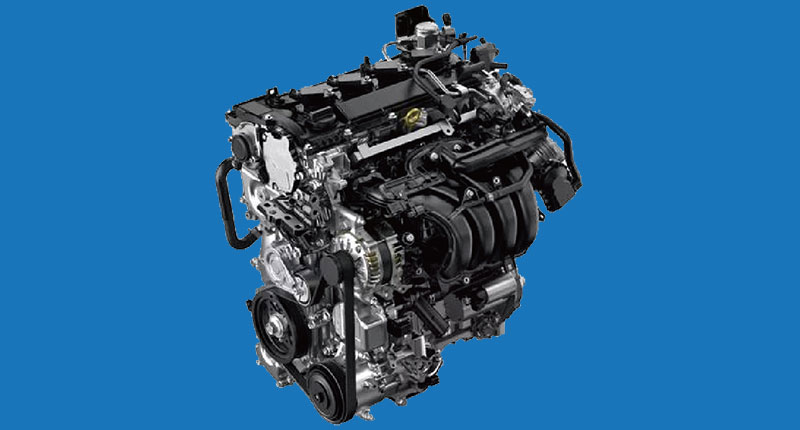
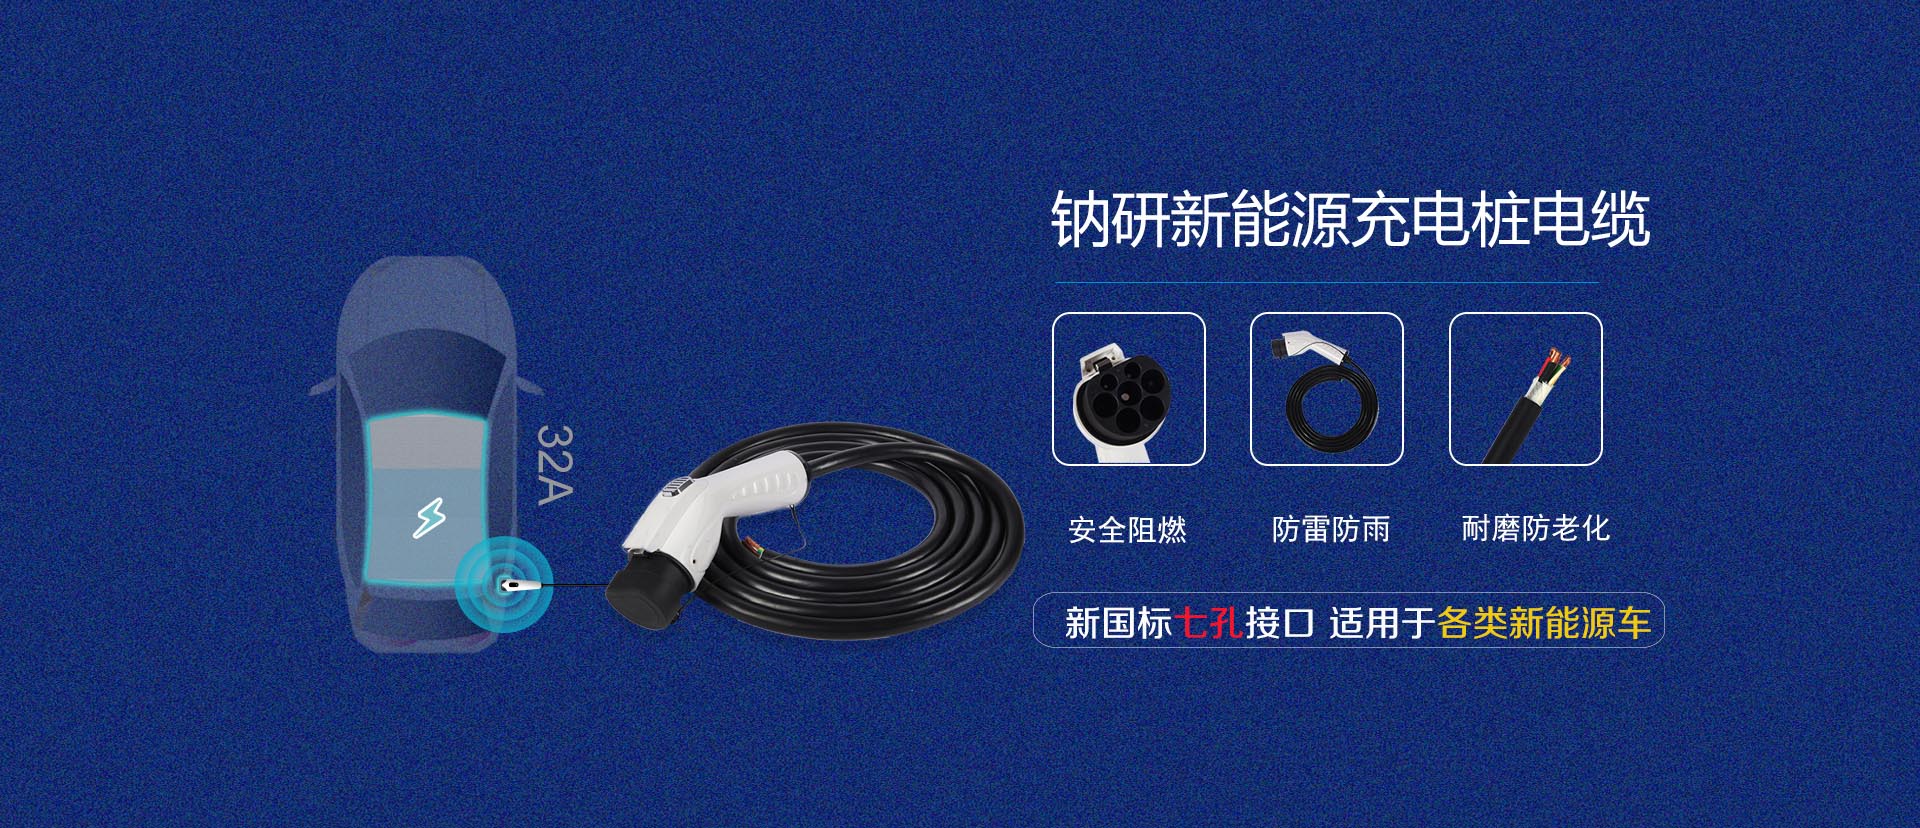
�˽���� +�������� +��Ʒ��;������Դ�����綯���г��������������ֵ�ƿ������Ħ���ִ���ɫ������ͨ���ߵ�������ߡ� ...
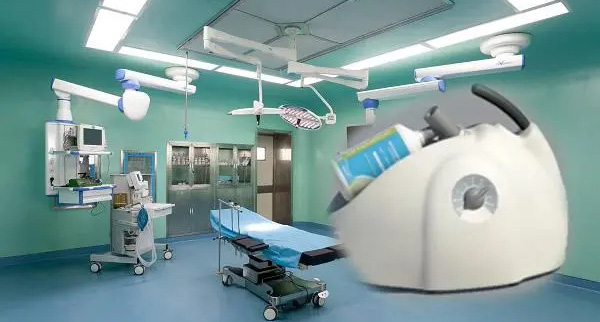
�˽���� +�������� +��ʵ�������漰ҽ����е�������IJ�,��������һ��һ����Ѫ����,�����⻤��,�⻤��������һ�ڻ���,�ڻ������⻤��֮�������ж�����Χо�ߺ�����һ������ߡ�...
�˽���� +�������� +�������ܡ����������������Ǹ����ȶ��ԣ���Ȼ�����¹���ǿ�ȡ������Ȼ��ijЩ �ϳ���һ�룬����200�����ϵĸ��»����£��������ܱ���һ���������ԡ��ص��Ժͱ��� Ӳ�ȣ�����ѧ���������Ա仯��...
�˽���� +�������� +Ӧ���ڸ�Ƶ����,�ر��Ƿ������������������ԣ����ߵ��豸����Ƶ�źţ���Ƶ�źŴ��䡣ͬ����±�֤��ʽ��е�������������豸���ܴﵽGHz��Ƶ��ε�Ӧ�á�...
�˽���� +�������� +
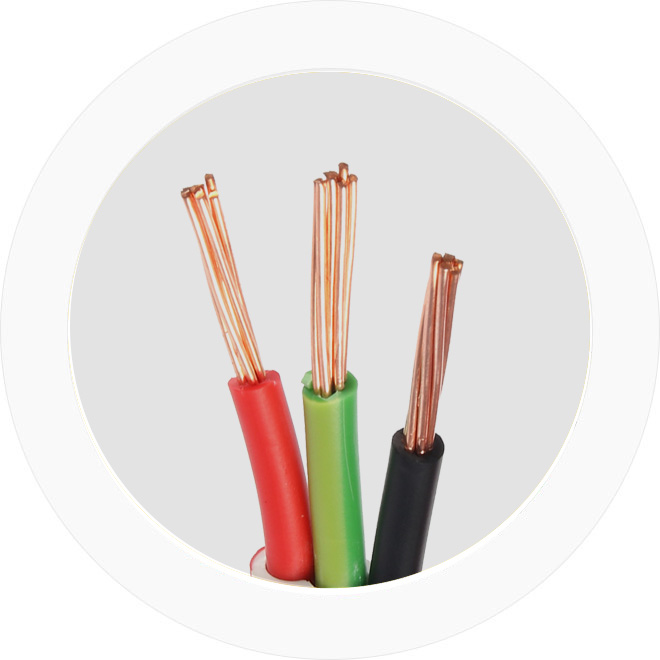
��������ṩ�˵��ߵ����ֱ�������ȼ������������ϣ����ͭ˿���ʶ��ɣ�ʹ����г�ǿ�Ŀ�������������о�Ӷ����ӵ����ʹ��������
��ѹ���͵�PVC/PE����֧��ÿ�ɵ����ĵ��ߣ�����������������������Ӧ���ж�����ĥ��֤ʵ���ǵĿɿ��ԡ�
���߽ṹ����ѵĽʺϽھ�����һ���ȶ��Ŀ���������Χ����о��������12ʱ�����ó����ʺϷ�ʽ��ʹ�����ڲ������ղ���ɢ��
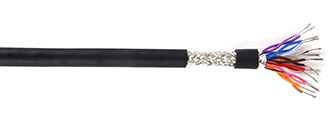
ͨ���Ż��ı�֯�ǶȽ����β�����ı�֯���ڻ����⣬���������źŲ��ܸ��ţ����ܱ�֯�����β�ͬʱ�����п�Ť�����ܡ�
����ֻ�������£�ÿһ���������ϸ�ļ���飬ȷ��ÿһ���¶����������������µ�ʹ��Ҫ��
���Ҽ����¼�����ҵ����Ʒͨ��ISO9001������֤��CE��֤������������֤��ӵ�г���ʮ����ר��������ͨ�����ҵ��ߵ��¼������Ȩ����⡣
������±�:�����߲��߱����ϵ��߱������ֵı��Ʊ�д������
��Ʒ���ϻ�ο�UL/CE���������Ƚ���������������������ڲ�Ʒ��Ϊ�ͻ��ṩ�����Լ۱ȵIJ�Ʒ��
��ѡ�͵��ֳ���װ�������ṩרҵ���������ȷ���û��ۺ����ǡ�
�û�ÿһ��ʹ������,��Դ�����ж�����ԭ���ϵIJ�и��ͨ�������Ӧ�������в��Ͼ������Ͽ��ļ��飬���ϨK���Ϲ���Ҫ��


���ճ�����I���е��º͵��ߵȵ�����Ʒ���ŷǡ̳���Ҫ�����á����г��ϣ���һ���������ܶ����ͬ���͵ĵ��ߵ��¡����е��߶��������ڸ�������;����Ҫ���Ժ��ܡ�һЩ���º͵���......
�˽���� ��2022-08-01���ճ�������е��º͵��ߵȵ�����Ʒ���ŷdz�����Ҫ�����á����г��ϣ���һ���������ܶ����ͬ���͵ĵ��ߵ��¡����е��߶��������ڸ�����;����Ҫ���Ժ��ܡ�һЩ���º͵���......
2022-08-01�˽���� �����ߵ��µ�о����ɫ����Ҫ��Ϊ������ʶ�����ɫʶ�����֡�������ɫʶ���������µ�����Ҳ�в�ͬ��01���������¶�о����Ӧ���ò�ͬ����ɫ��־��2о���졢��3о���졢�ơ���......
2022-08-01�˽���� ���ǻ۳��еĸ������������ý����������ָʹ�ø�����Ϣ�������¸��������źͼ��ɳ��е�ϵͳ�ͷ����������Դ����Ч�ʣ��Ż����й����ͷ����Լ���߹���������������......
2022-08-01�˽���� ���������ִ��������Ҫ��ɲ��֣�����ֱ�Ӵ��������ǵġ��ճ���Ұ��Χ�ڣ�ͨ���ᱻ����ǽ�������ڿ��У��������������ִ������������Ԫ�ء�������...
2022-08-01�˽���� �����ճ������е��º͵��ߵȵ�����Ʒ���ŷdz�����Ҫ�����á����г��ϣ���һ���������ܶ����ͬ���͵ĵ��ߵ��¡����е��߶��������ڸ�����;����Ҫ���Ժ��ܡ�һЩ���º͵���......
�˽���� ��2022-08-01���ճ������е��º͵��ߵȵ�����Ʒ���ŷdz���Ҫ�����á����г��ϣ���һ���������ܶ����ͬ���͵ĵ��ߵ��¡����е��߶��������ڸ�����;����Ҫ���Ժ��ܡ�һЩ���º͵���......
2022-08-01�˽���� �����ߵ��µ�о����ɫ����Ҫ��Ϊ����ʶ�����ɫʶ�����֡�������ɫʶ��������µ�����Ҳ�в�ͬ��01���������¶�о����Ӧ���ò�ͬ����ɫ��־��2о���졢��3о���졢�ơ���......
2022-08-01�˽���� ���ǻ۳��еĸ������������ý����������ָʹ�ø�����Ϣ�������¡����������źͼ��ɳ��е�ϵͳ�ͷ����������Դ����Ч�ʣ��Ż����й����ͷ����Լ���߹���������������......
2022-08-01�˽���� ���������ִ��������Ҫ��ɲ��֣�����ֱ�Ӵ��������ǵ��ճ���Ұ��Χ�ڣ�ͨ���ᱻ����ǽ������څe���У��������������ִ������������Ԫ�ء�������...
2022-08-01�˽���� ��


ɨһɨ��ע�ٷ���
 021-57560767